

There are two taxonomy elements in OptimizePress. We have the "Taxonomy Element" for posts, and then we have the "Taxonomy List Element" - although the Post Taxonomy Element and the Taxonomy List Element share the same customization options in the inline toolbar and sidebar (such as typography, spacing, colors, and layout controls), their purpose on the front end is very different. Both elements let you fine-tune how taxonomy names are displayed, ensuring a consistent design experience across your site, but the context in which they’re used determines the content that visitors actually see.
The Post Taxonomy Element is designed to show the taxonomies that a specific post belongs to (such as categories or tags), and therefore only works on post types that support taxonomies. In contrast, the Taxonomy List Element generates a full list of all categories, tags, or other taxonomies available across your site. This allows you to place it anywhere to give visitors a way to browse and filter posts by taxonomy. In short, while the editing options are nearly identical, the Post Taxonomy Element is tied to the current post, and the Taxonomy List Element displays a site-wide overview of available taxonomies.
How to use the Taxonomy Elements
The Theme Builder Post Taxonomy Element is designed to be used on the Single Post template. You may add the element like any other, by selecting, and dragging it into the spot where you want the element.
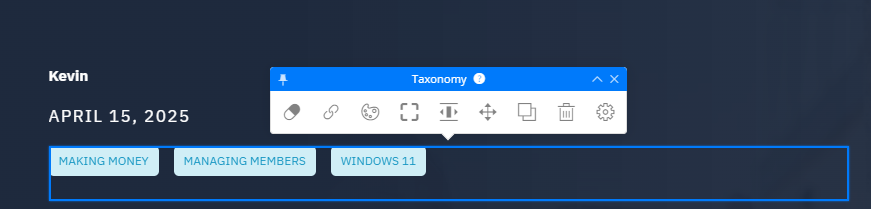
Once you add the Taxonomy element to the single post template, you’ll see the Taxonomy Toolbar, along with a sampling of some of your categories.
Show Categories, Tags, or Formats
You can also switch this to show tags or formats. Just click the first icon there in the toolbar and you'll see some options. You can also set the limit of how many items show: 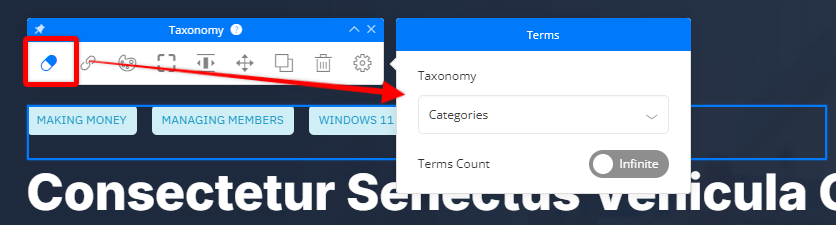
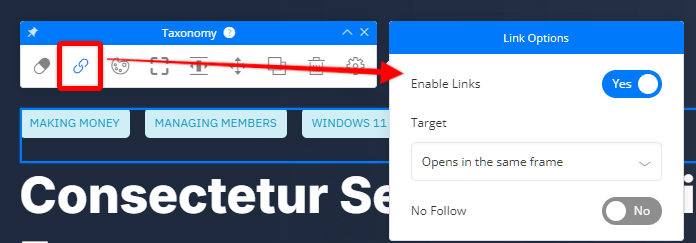
Set the Link Options
To set the link options for the Theme Builder Taxonomy Element, click the link icon in the Taxonomy toolbar, and you'll be able to adjust the settings, such as enabling or disabling the links, the link target, and whether the link should be set to "no follow" for search bots.
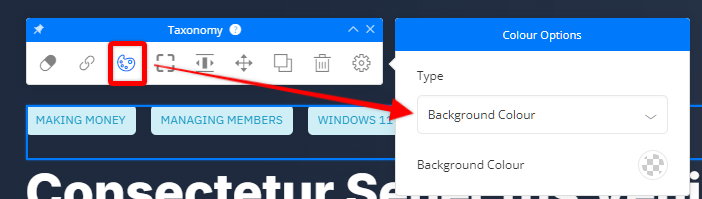
Element Background Options
You can set the background color options by clicking the colour options icon.
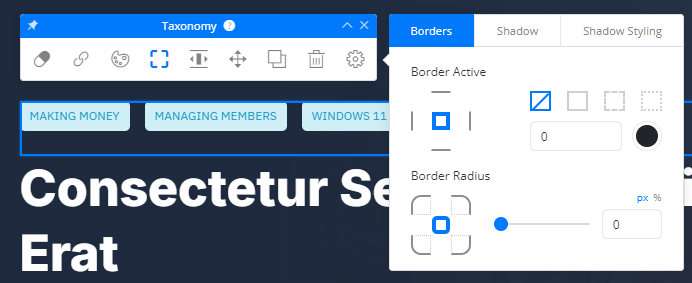
Borders, Shadows, & Shadow Styles
Keep in mind this is for the overall element, where you can choose the border, shadow, and shadow style options.
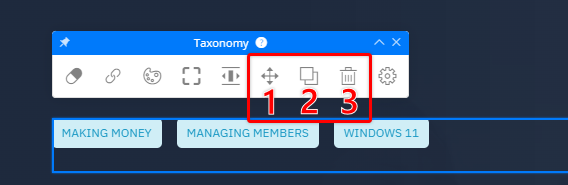
Reposition, Clone, or Delete the Element.
As with most other elements, you can drag/drop to reposition (1), clone (2), or delete (3) the element.
Taxonomy Element Settings
The settings menu for the Taxonomy element will allow you to control the spacing, width, and alignment. You can also set the button distance.
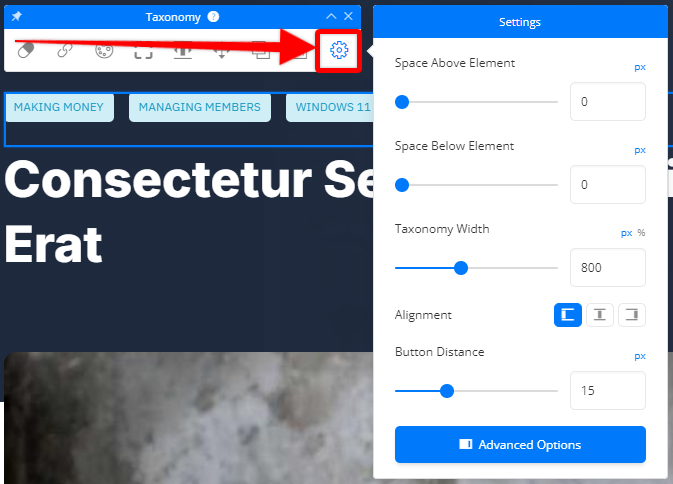
You can also click the "Advanced Options" button to open the element's sidebar for some further customization options.
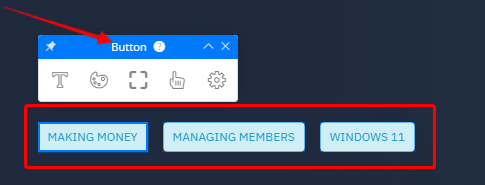
Taxonomy Buttons
Clicking on one of the taxonomy button items will allow you to change the options for the button, such as font styling, colors, borders, hover state, and more.
If you have any questions about using the Taxonomy element in the OptimizePress Theme Builder, please reach out to our team and we'll be happy to help.