

Each theme in the Theme Builder includes a Typography Preset. These settings are used anytime you are using the Default template, or Full Width template in the header and footer theme templates.
Where Theme Builder Typography is Used
- Default Template - The entire page will use the Theme Typography Settings
- OP3 Full Width Template - The header and footer theme builder templates will use the Theme Typography Settings. The content of the page will use the settings within the OptimizePress page builder for that specific page. This is where you would want to use the Theme Builder header and footer on some pages on your site.
- OP3 Blank Template - The Blank template will NOT use any part of the Theme Builder. No template parts are pulled in, and no Typography presets are used from the Theme Builder on the blank template.
- 3rd Party Templates - The Theme Builder template parts and Typography might not be used on 3rd party templates. This depends heavily on how those are designed, but in general, they won't work, and we can not guarantee a 3rd party WP page template could use the Theme Builder designs. You will need to use one of the OP3 Templates as specified in the bullet points above.
How to Edit the Theme Typography
The Theme Typography can be edited by navigating to the Theme Builder - Theme Typography Settings. This is found under "ThemeBuilder" on the left side of the admin area, and by clicking on "Typography" where you'll be able to edit the typography.
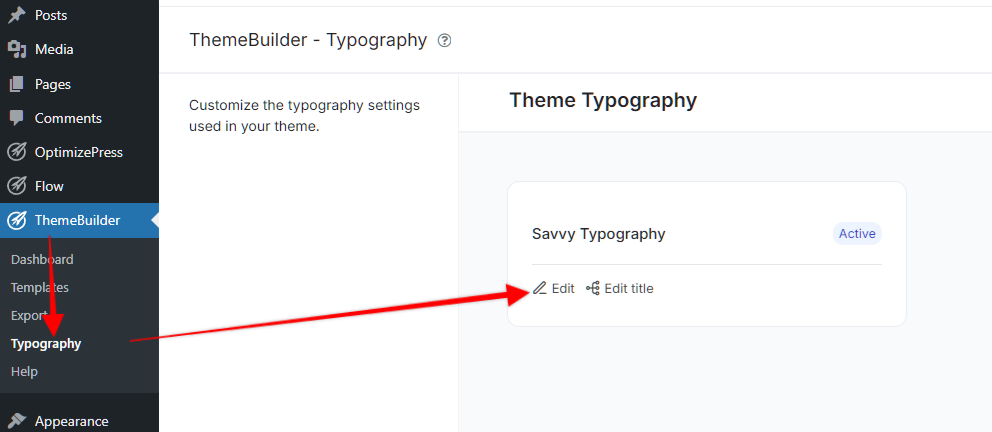
This will look very familiar if you have ever edited the Typography options in the OP builder for a page. You'll see the Typography Editor when you click the "Edit" option.
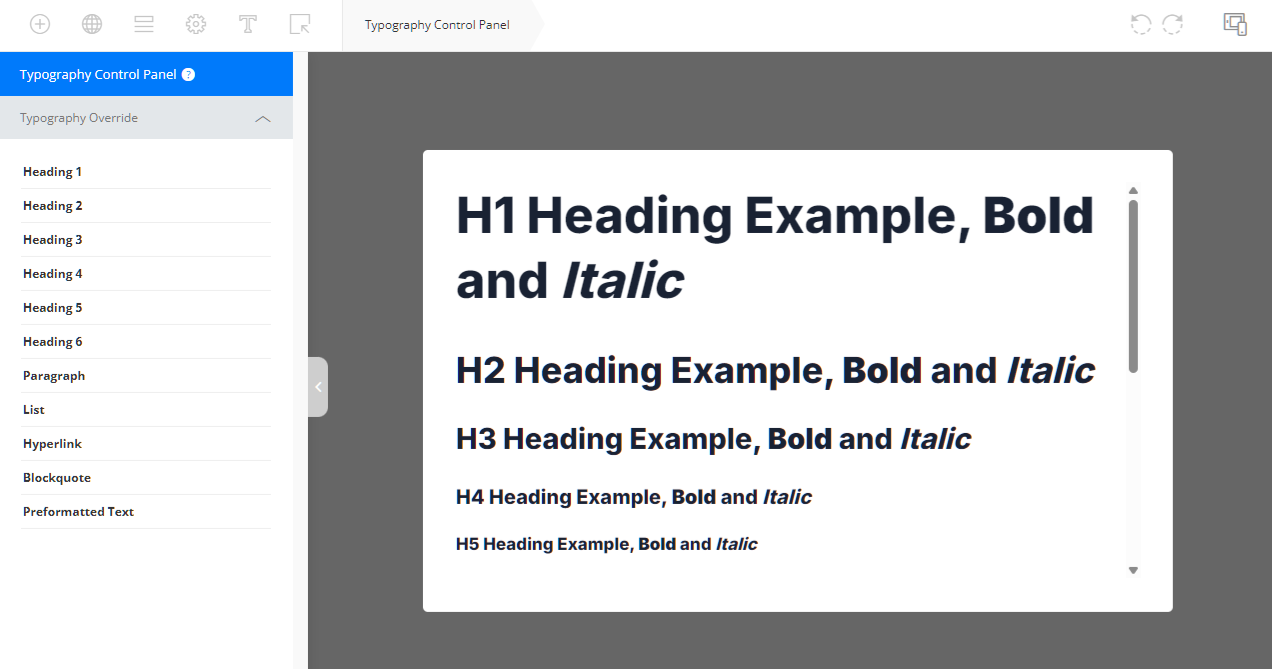
Typography Editing Options
You'll notice that you can click on each item, or choose from All Headings, All Texts, or All Elements. This means there are 4 levels of editing here. Individual items take priority over the all headings or all texts options, and those would take priority over the All Elements option.
Example 1: You edit the H2 Heading, and set the font and color. Now you go into "All Headings" and choose different options, but wonder why it didn't change the H2, well, that is because you selected those settings already at the H2 level.
Example 2: You selected the "All Elements" option, but wonder why only some or none of the individual items have changed to the settings you made in the "All Elements" option. Actually, this is rare that you'll be able to edit like this, because most of our themes will already have a Theme Typography which has already been edited by our design team. We also have some specific font settings when adding a new typography preset. This means you would not really use the All Elements option in the theme builder typography settings unless you add a NEW Theme Typography, which will use the default System Font, like you see here, which sort of gives us a blank canvas from which to build a new Theme Typography, since there is nothing to override: 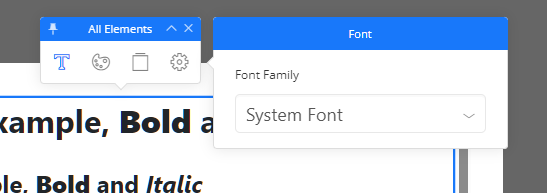
How to Add a New Typography Preset
Being aware that only ONE Typography preset can be used at one time, you can add a new one if you would like to try out some new settings without deleting the one you have already created.
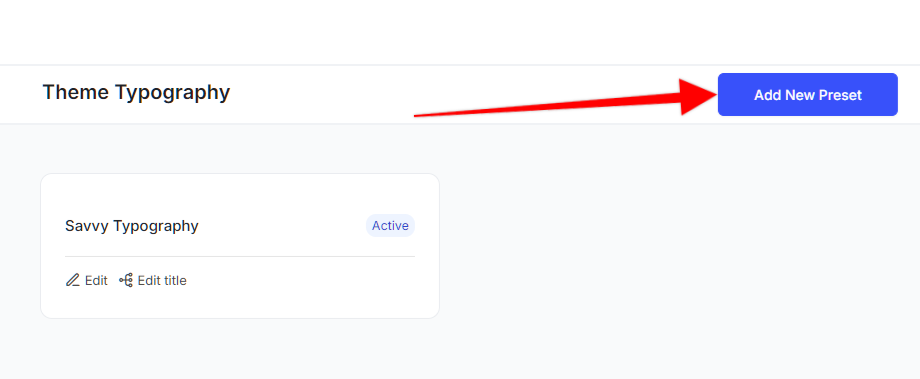
To create a new Typography Preset, navigate to the ThemeBuilder Typography area, and then click the "Add New Preset" button.
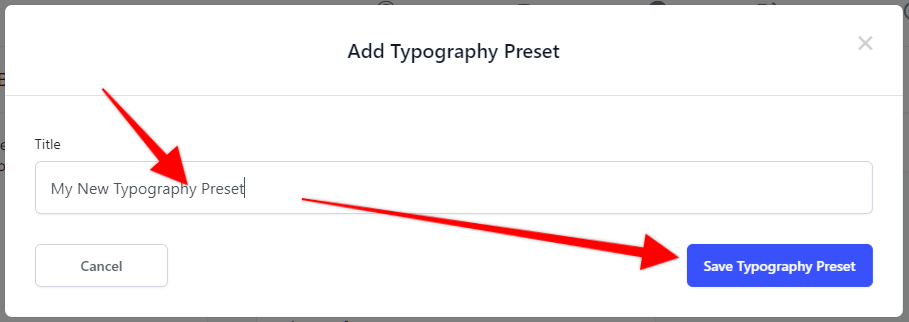
Next, give the Typography Preset a Title, and then click "Save Typography Preset"
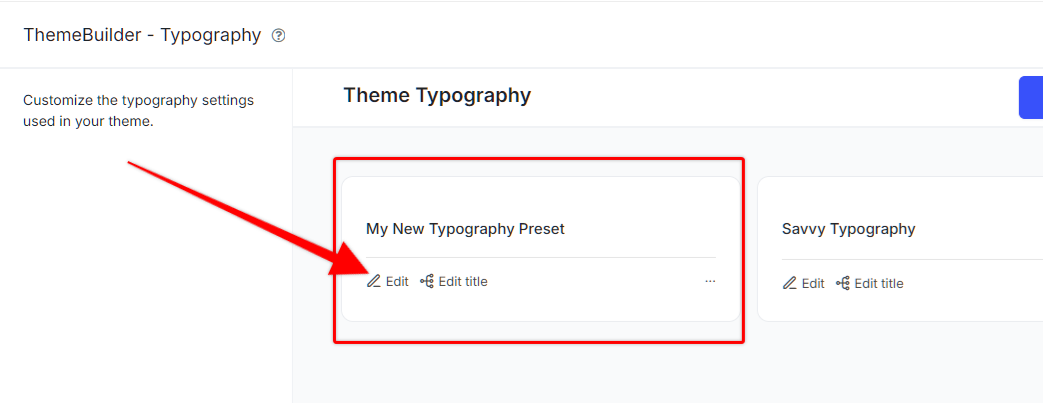
You'll now see this on the ThemeBuilder Typography page. You can now click "Edit" to open the editor for the Typography Preset where you can make any changes you want.
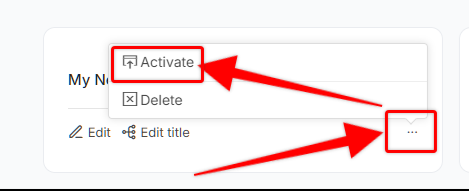
After editing, and saving your changes, you may also activate the new typography preset by clicking the 3 dots on the bottom right of the preset, and selecting "Activate"
Now you should see your new Typography settings on your site.
How to Delete a Typography Preset
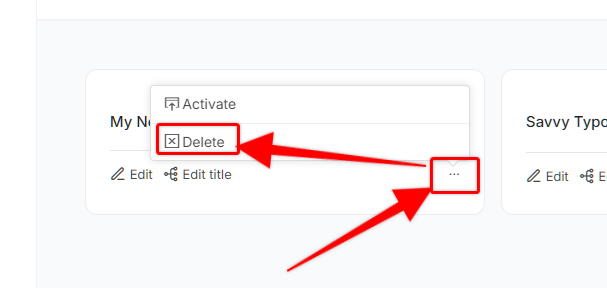
You can also delete the preset by selecting the 3 dots again, and choosing "Delete" if you decide that you don't want the changes, or don't want the original preset that came with the theme.
If you need help with using the ThemeBuilder Typography options, just send us a message and our team will get back to you.