OptimizeMentor is included in the OptimizePress Suite plan. If you do not already have the Suite plan, and would like to have access to OptimizeMentor, you'll want to upgrade your account before proceeding.
To install OptimizeMentor, you'll first want to make sure you have installed the OptimizePress Dashboard plugin and activated your license for the site.
Before you attempt to install OptimizeMentor, please take a moment to ensure that you meet all the minimum OptimizePress recommendations by navigating in your WordPress Dashboard to "OptimizePress3 > Site Status" and make sure that any items that are not showing a green bullet point are corrected. If any are yellow or red then you should see some help text there to tell you what needs to be done. This is an example of what items should be in green (but you don't have to meet this exact setup):
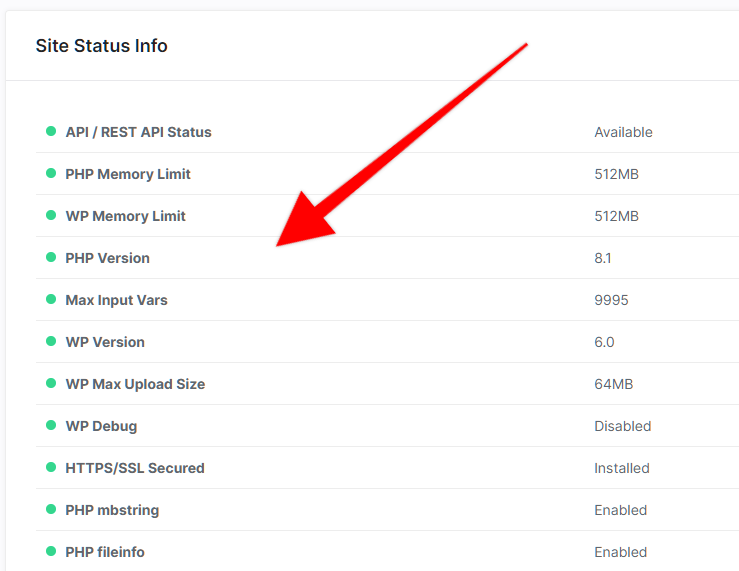
Note that while in the example above, we are running PHP 8.1 on this test site, OptimizePress is compatible with any PHP version 7.0 and up.
Installing and Activating OptimizeMentor
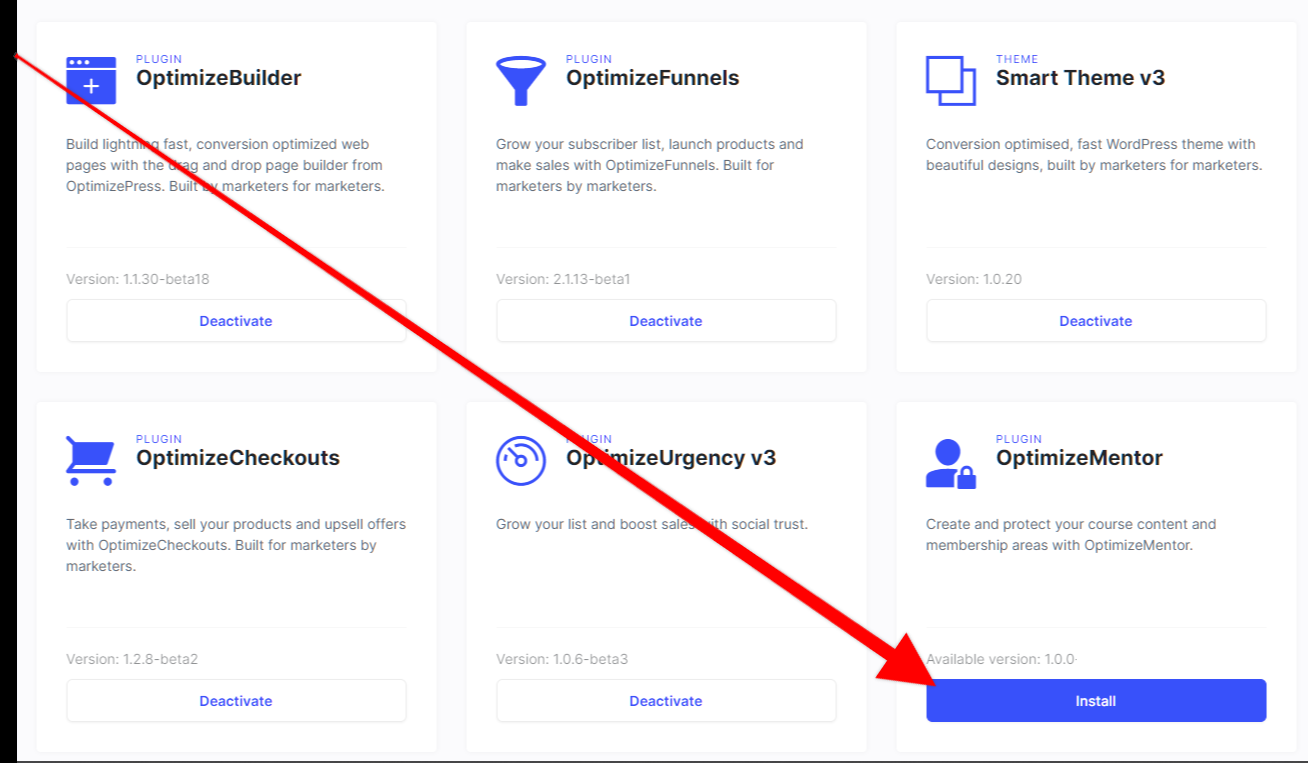
Once you have the OptimizePress Dashboard plugin installed and licensed, you'll want to go to your WordPress Dashboard and click on "OptimizePress3" which will load the OptimizePress Dashboard. From there, you'll see the available plugins with the Suite account. Just click the blue "install" button for OptimizeMentor.
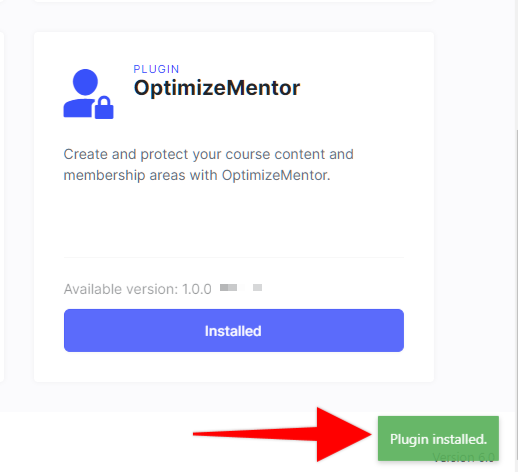
You'll also get a green notice once it is installed and then the page will refresh.
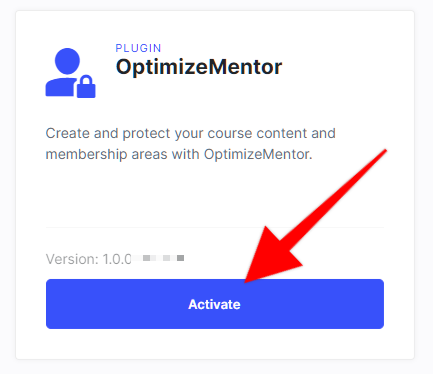
Once the screen reloads you'll just click the "Activate" button.
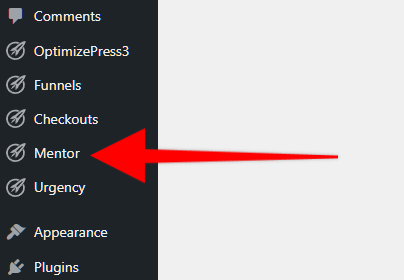
Now you should see the "Mentor" admin menu in WordPress.
If you have any trouble at all with installing OptimizeMentor please reach out to our support team and include your WordPress admin logins as well as cPanel, FTP, or hosting logins.
Note if you are hosting with Siteground or other web hosting with 2 factor authentication, you'll want to add us as a collaborator. Please ask the support person for their email address that they use for the collaboration so you may grant them access.

